Associating Redmine Projects with Construct Workspaces
This guide provides step-by-step instructions for creating an association between a Redmine project and a Construct Workspace, along with troubleshooting common issues.
Process Overview
This process establishes an association between a Redmine project and a Construct Workspace to enable seamless integration and issue tracking.
Process Output
The output of this process is a successful association between the selected Redmine project and the Construct Workspace.
Process Inputs
The process requires:
- Construct version v1.0.9 or higher.
- A pre-configured Redmine instance for Construct.
- A valid Redmine API access key stored in the Construct tool under the user's profile performing this process.
Refer to the Redmine integration documentation for:
- Configuring a Redmine instance.
- Setting the Redmine API Access Key in Construct.
- Creating an association between a Redmine project and a Construct Workspace.
- Using Redmine within Construct.
Process Roles
Administrator
Process Activities
Introduction
To associate a Redmine project with a Construct Workspace, you must log in as a super administrator in the Construct tool.
Some Redmine API endpoints require Redmine Administrator access. Ensure the API access key belongs to a Redmine Administrator and not a standard user.
Steps to Associate Redmine Project with Construct Workspace
-
Navigate to the Configuration Page
- Go to the Configuration page in Construct.
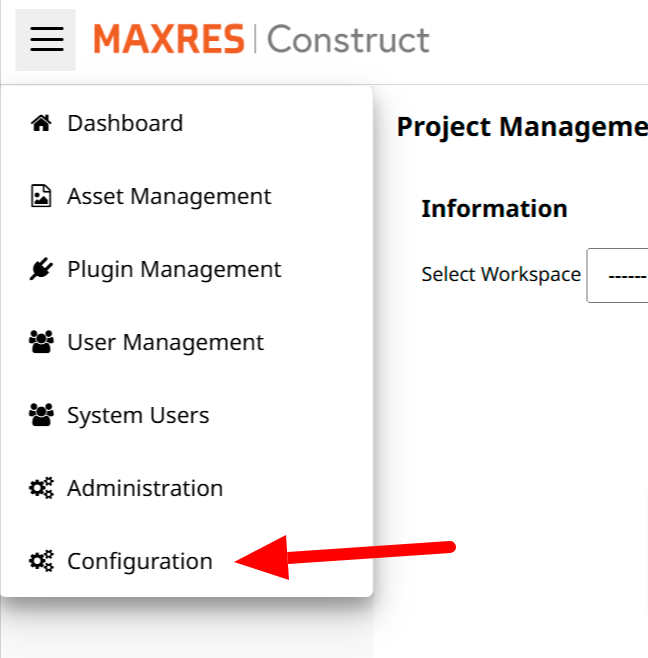 Figure 1: Navigating to Configuration page
 -
Open Project Management Settings
- Click on Project Management to open the settings for associating Redmine projects.
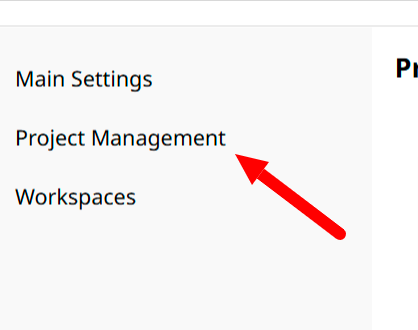 Figure 2: Navigating to Redmine settings
 -
Select a Workspace
- Choose the Construct Workspace to associate with a Redmine project.
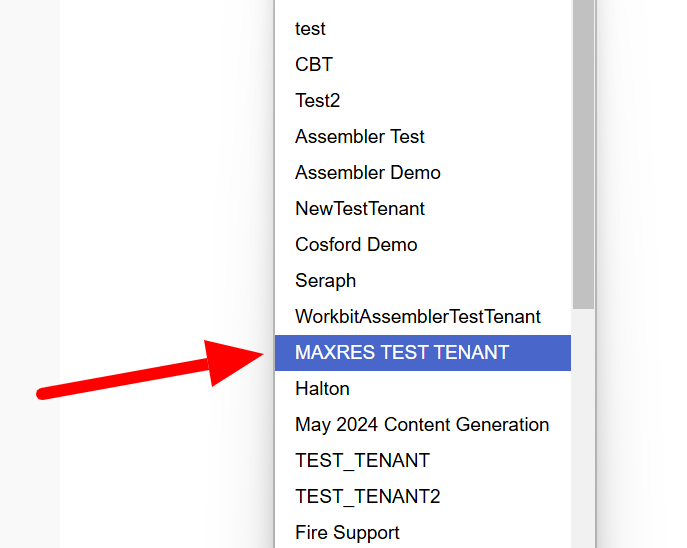 Figure 3: Selecting Workspace
 -
Enter Redmine Instance URL
- Input the URL of the Redmine instance in the Redmine Instance field.
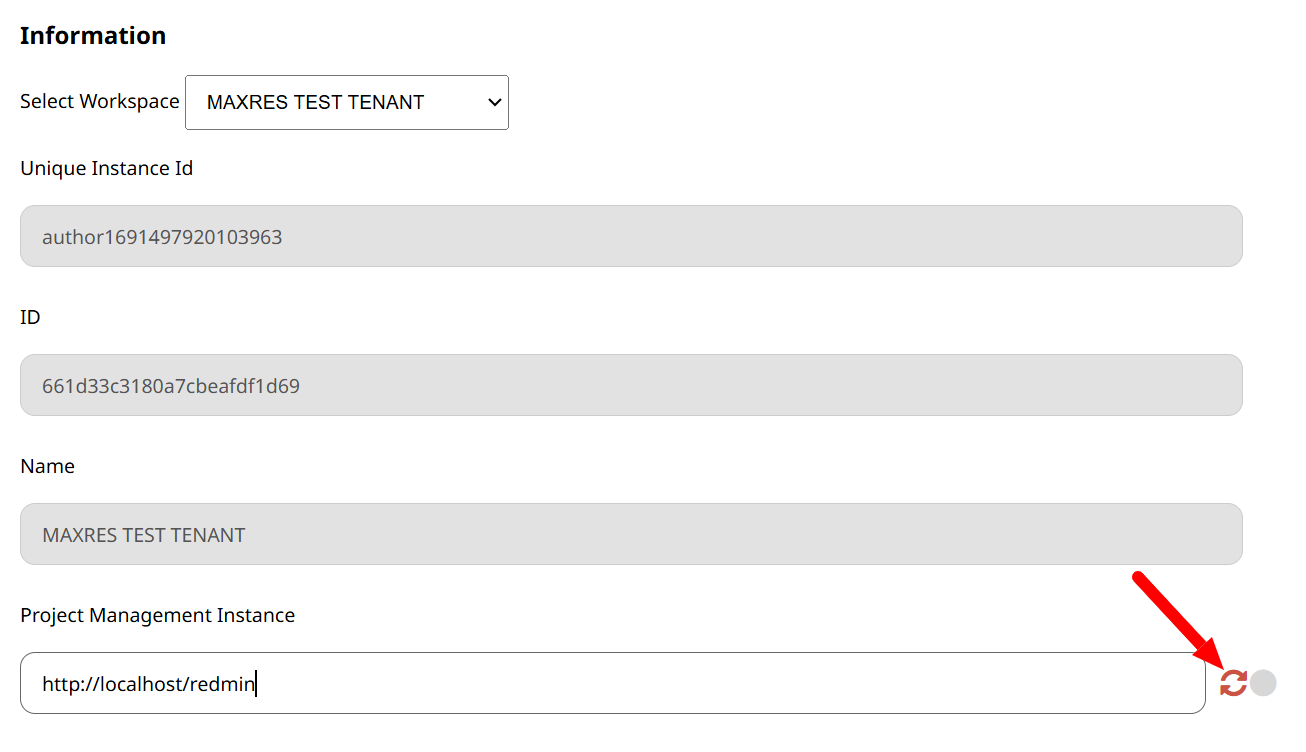 Figure 5: Indicating Redmine instance URL
 -
Load Redmine Projects
- Click the Refresh button to load available Redmine projects.
 Figure 6: Available Redmine projects
 -
Select a Redmine Project
- Click the Select button for the desired project to associate it with the Workspace.
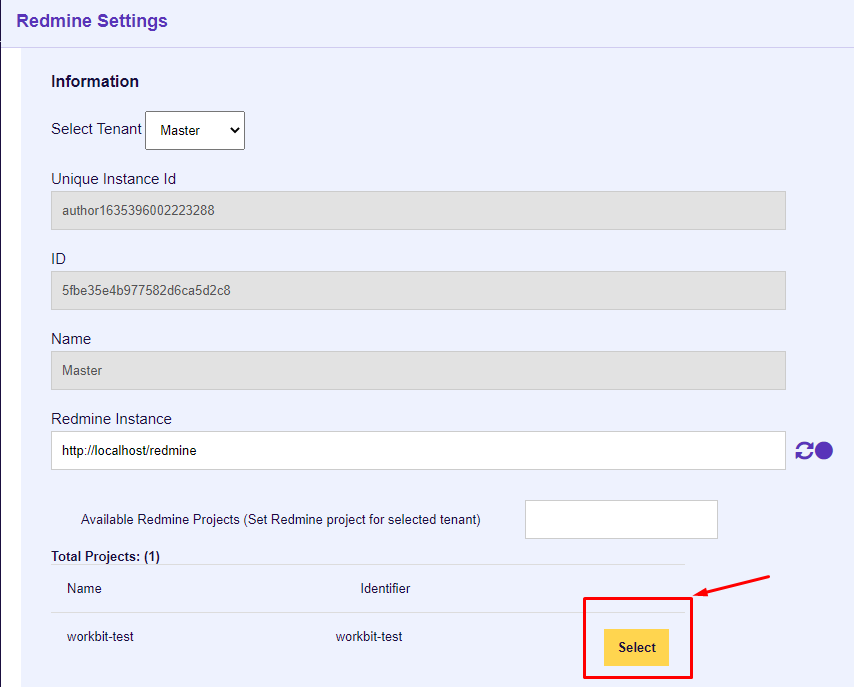 Figure 7: Selecting Redmine project
 -
Configure Trackers and Permissions
- Configure the following in the rendered configuration view:
- Content Tracker: Tracks issues for content items (e.g., pages, articles).
- Course Tracker: Tracks issues for courses and allows setting statuses (e.g., Content Review, Transferred).
- Set read and create permissions for each tracker by user role.
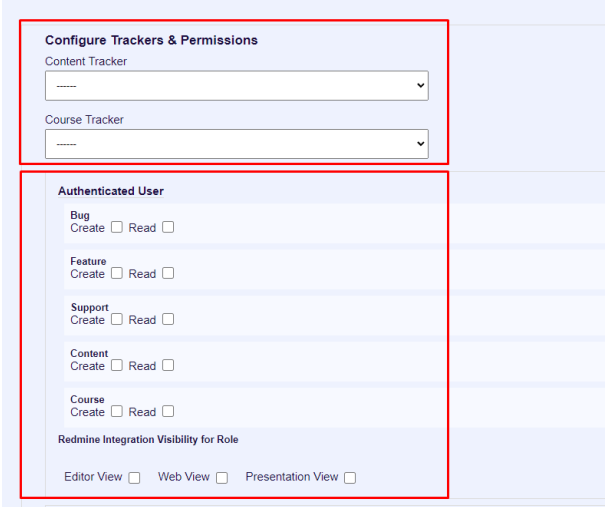 Figure 8: Redmine Tracker configuration
 - Configure the following in the rendered configuration view:
-
Set Project Memberships
- Review and update project memberships as needed.
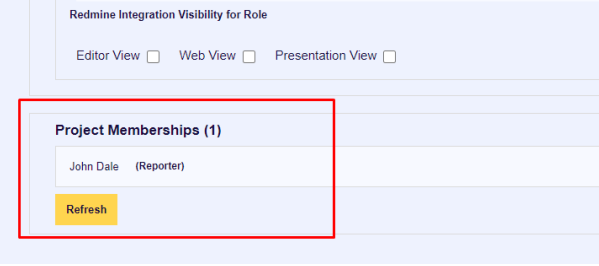 Figure 9: Redmine project memberships
 -
Update Configuration
- Click the Update button to save the settings.
 Figure 10: Updating Redmine configuration
Troubleshooting
Common Issues and Resolutions
-
Not Found Message
- This may indicate an incorrect Redmine instance URL. Verify the URL.
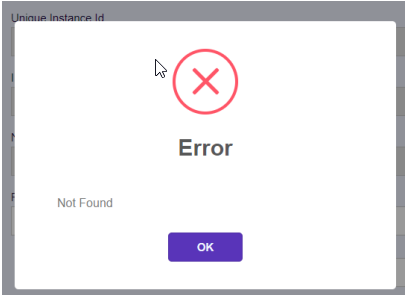 Figure 11: Not Found message
 -
Failed to Fetch Message
- Indicates a CORS issue preventing requests to the Redmine instance from the Construct domain.
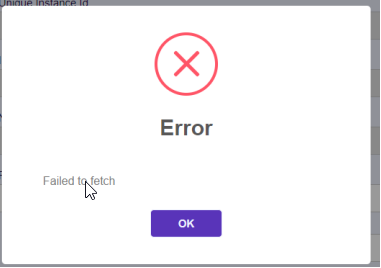 Figure 12: Failed to fetch message
 -
Auth Key Error (401)
- This indicates the Redmine API key is incorrect or lacks access to required endpoints. Verify the key and permissions.
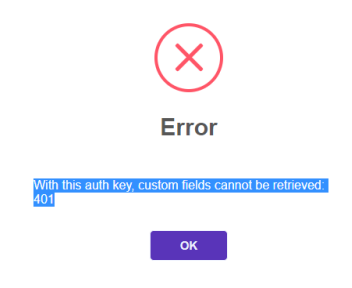 Figure 13: Auth key error
 -
Forbidden Error
- The API key is valid but lacks administrative permissions. Assign administrator access to the API key owner.
 Figure 14: Forbidden error message